This document explains how to install and use the 3i Microsoft PowerPoint 2007 Add-In. This add-in will allow you to create 3i Lecture Files using PowerPoint 2007.
SPECIAL NOTE: If you installed the add-in before February 19, 2008, please uninstall it using by going to Windows's Start menu -> Control Panel -> Add or Remove Programs. Otherwise, you'll be stuck with the old version.
You'll need:
Please download the 3i PowerPoint Add-In. The size of the file is 30MB. It includes the following files:

You will need Administrator access on the computer you're installing it on.
To install the 3i add-in, double-click setup.exe and follow the directions to install. The installer will check that you have the required programs to be able to run the add-in. If your computer doesn't then the installer will install them for you. When you are done installing the add-in, open up PowerPoint 2007 and read about using the 3i PowerPoint Add-In.
If you don't see the 3i add-in, then please manually install the following programs:
The 3i Add-In will export every slide in your PowerPoint presentation as JPEG images and generate a 3i Lecture File. The default question for each slide will say Please answer question that is on the slide. Notes that are written in the Notes section of you slide will be extracted and turned into 3i Answers. The images will be stored into a folder with the same name you give to your 3i Lecture File.
After you are done preparing your PowerPoint Presentation, you can save the presentation as a 3i Lecture File. There are two ways to access 3i Add-In. The first way is to click on the Add-Ins tab, then click on the Save As 3i Lecture File button as shown in the following image.

You can also access the 3i Add-In by choosing the Office Menu, choose Save As, then choose 3i Lecture File as shown in the following image.
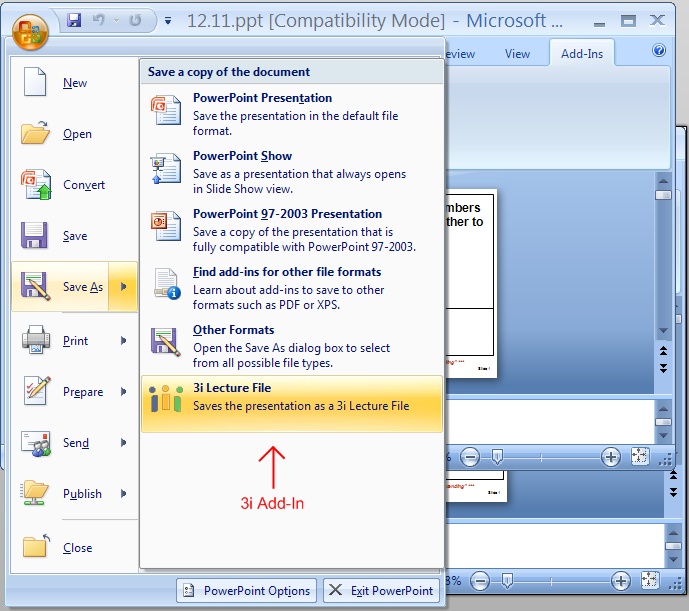
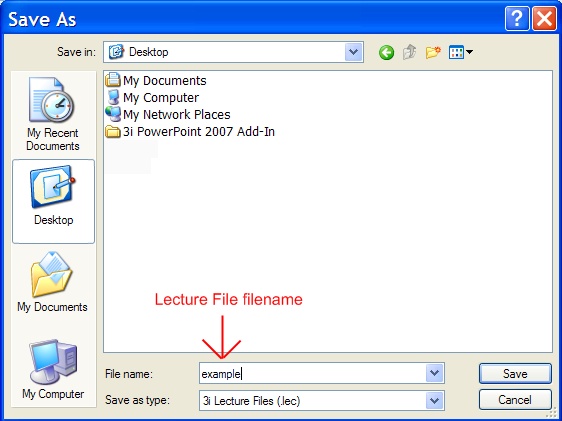
Either way, you'll see the following Save As dialog box. Enter a name you want for your 3i Lecture File, then click Save
After you click Save, the 3i Add-In will export each slide as a JPEG image and generate a 3i Lecture File with the name you choose. You'll then see a summary of what took place like shown below.

Navigate to the location of where you saved the 3i Lecture File. You'll see the lecture file and a folder with the same name as your lecture file which includes all of your images. You can now open the lecture file using the Instructor application.